Happy Sunday Ladies. <3
As promised, today’s post features a new fashion find. Some of you may have heard of Rent the
Runway, but for those of you that haven’t, let's get you introduced. :)
At a certain point in all of our lives, we go through this cycle
where it seems like every other weekend we have another engagement party,
shower, wedding and/or event that requires us to dress up. Thanks to today’s
social media culture, you don’t want to be seen with the same dress twice, but who has the budget and closet space to have a new dress for every event?! Not me! So, what’s our saving grace? Rent the
Runway!
Rent the Runway is your one stop rental shop for all of your dress, gown and/or accessory needs.
This past August was my first Rent the Runway experience and I
absolutely loved it. Here’s my story and how this process works.
- Search the Rent the Runway website for the type of dress you want to wear. Filter based on size, rental date, price and style of dress (length, neckline, body type, etc.). You can literally narrow it down to the exact type of dress you are looking for.
- Once you've found the perfect dress, it's time to rent it. Book for a 4 or 8 day rental period.
- Need some of the other essentials like Spanx or Fashion Tape, etc.? Rent the Runway offers these too (for an additional cost of course).
- How about some accessories? Rent the Runway offers suggestions on how to complete your look on the bottom of their page. From a necklace, to earrings or a bracelet, they suggest the perfect accessories rental to match your selection.
- Your order will arrive by 8pm on your delivery date via UPS, so make sure you allot the proper amount of time before your event.
- Post party, send back your items in the pre-paid envelope that Rent the Runway provides – they take care of the dry-cleaning.
The cost! The rentals are very affordable. For instance, you can rent a $385 Badgley Mischka dress for $35.
The ability to choose two sizes! Let’s say you’re a size 6 in most dress styles, but based on the reviews, you're worried that your selected style might not fit. Well, Rent the Runway allows you to rent two sizes for the price of one. In this example, you could rent a size 6 and a size 8 just to be safe. The fact that they do not charge you for that second size is amazing and puts your worries about the fit at ease!
The testimonials from real women! While you’re searching for your dress, they highlight women who have rented the same dress along with their comments. This is extremely helpful because you’re looking at real body measurements (not just model sizes) and they offer helpful tips such as, “this dress showed off my love handles so don't wear it if you are self conscious" or "you may want to reconsider the type of bra you wear with this dress because it has a wide open area under the arms".
The Concerns:
I'm not sure if I would like wearing a rented dress? This is a common concern and one that I expressed at first too. However, after I made the decision to try it, I was very impressed with the cleanliness of the service (especially coming from a major OCD/Germaphobe like myself). Upon receiving my rental, these concerns were quickly put to rest. It comes in a pretty package and dress bag, freshly cleaned and pressed (as a daughter of a dry cleaner - I could spot this a mile away ;) ) .
What if I spill on the dress? It's not a problem. Rent the Runway charges a $5 insurance fee during your checkout process, which covers minor stains and damage. Obviously if there is significant damage (i.e. you had a run in with a bear) then it would not be covered under the insurance.
Have additional concerns? They offer an FAQs page to help answer your questions.
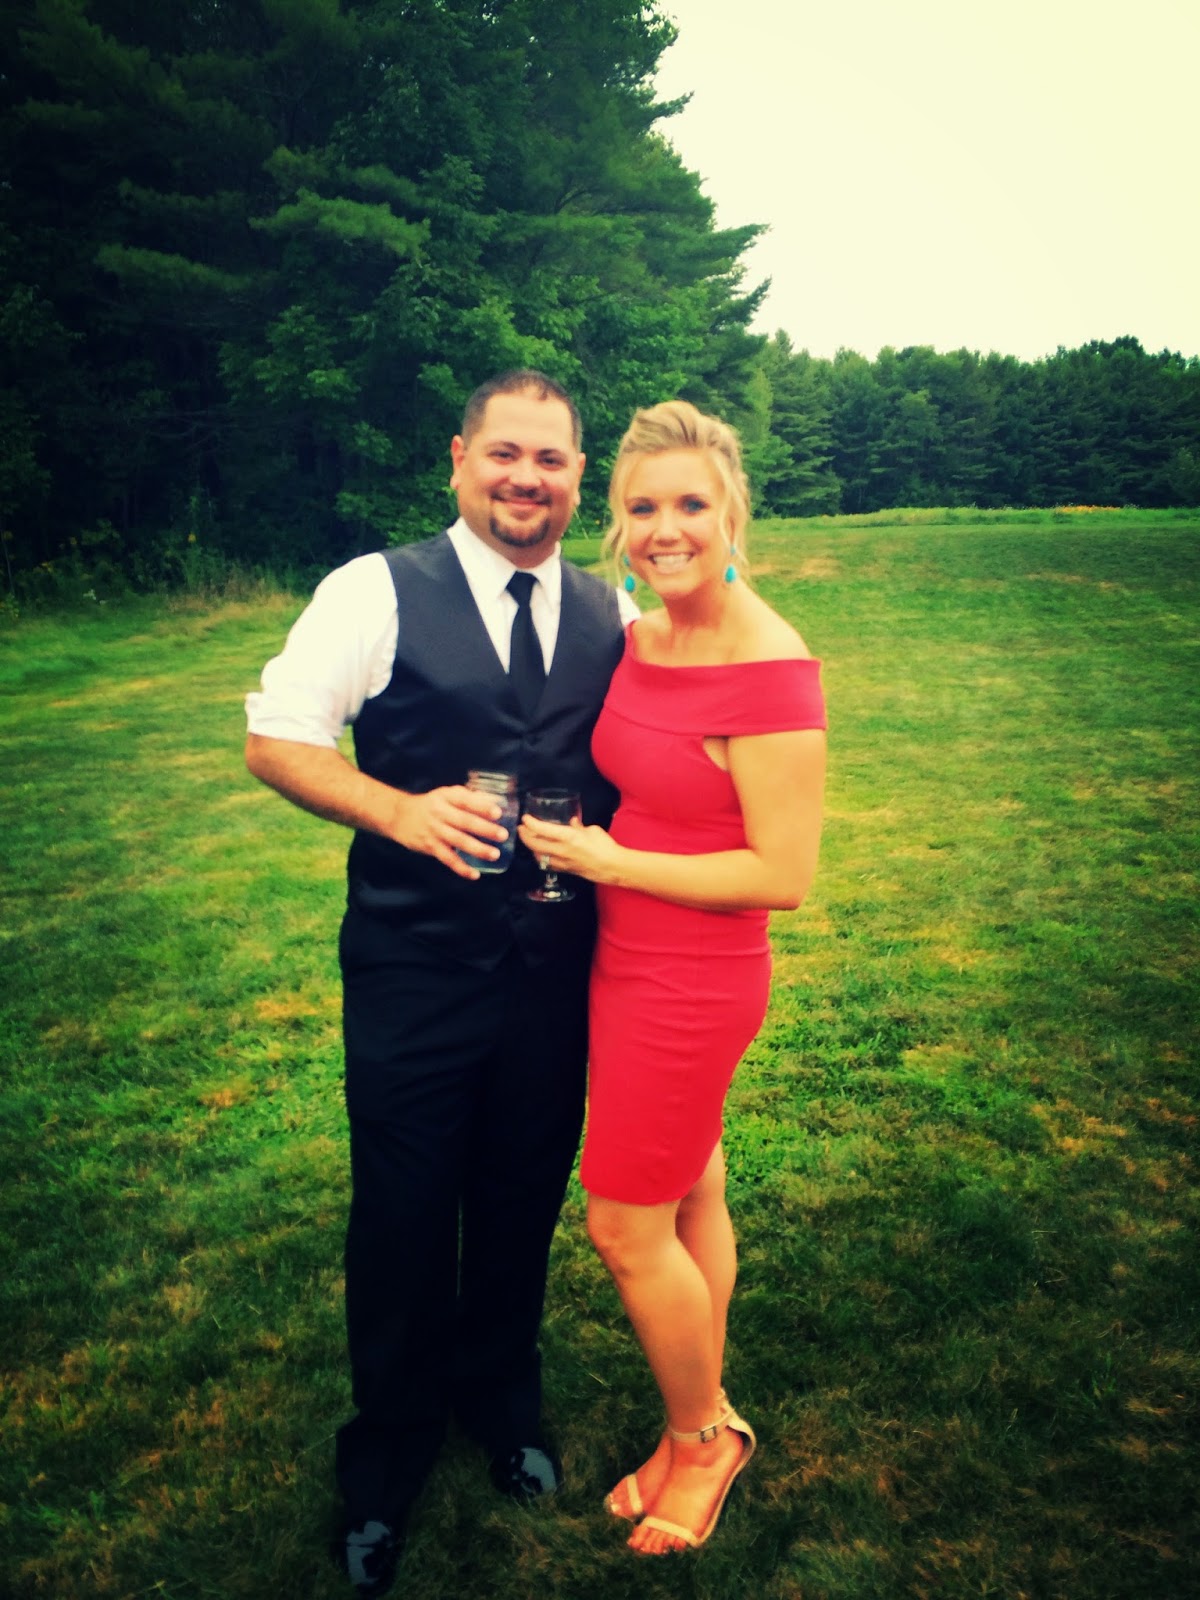
Below are a few shots of me in my rented dress as well as the packaging that it came in:
 |
| Myself and the hubby at the wedding! |
Here's another shot of the dress in brighter light:
It also comes in some great packaging. The first is the outside box and the second is the dress bag, which is perfect for transporting if you're not getting ready at home.
Have you used the Rent the Runway before? If so, I'd love to hear about the dress you chose. If it will be your first time, happy shopping!
Here's to looking like a million bucks without having to spend it. xoxo


.jpeg)
.jpeg)
.jpeg)
.jpeg)


